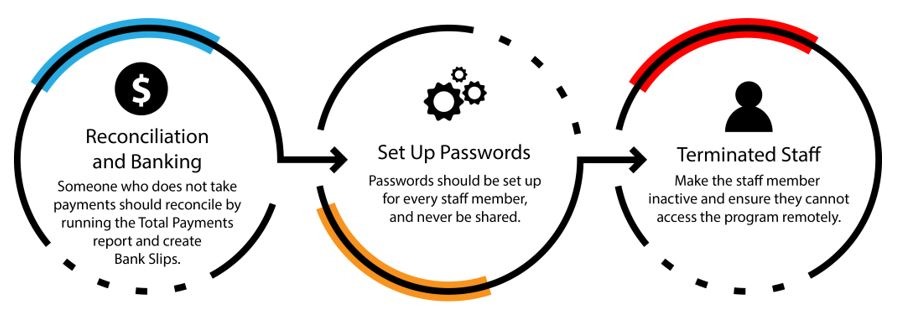
Taking the simple, no-fuss route by not turning on security may seem like the easiest and quickest way to get things done; however, it is unsafe and, in most cases, untraceable. It’s much safer to turn on security and allow access (so it becomes auditable) than to not have any security activated.
Using security features in your system is reliable, auditable, and secure as long as you NEVER share password information with others.

Take this opportunity to review your entire Dental4Windows security set up. Click on the links provided to access related videos and articles on eSupport.
Security
Many of the actions that can be performed in D4W have the option to add security. Once security is added, select who can / cannot complete that action or access that area. Access our Security Training Video here and article here in eSupport.
Prior Period Lock
Allows users to lock financial information prior to an entered date to ensure the accuracy of past financial figures. Find out more in this eSupport article.
Reason for Modification or Deletion
Create reasons to use then deleting or modifying secure data. Find out more in this eSupport article.
Audit Trails
The Administrator of D4W should regularly (Daily if discrepancies are found) check for any deleted accounts/receipts by running audits to assess where deletions have occurred throughout the day. Find out more in this eSupport article.
If you are unsure of your eSupport access details, please e-mail customerservice@centaursoftware.com.
Find out more
Join Ana Ogier on 19 + 20 August for the Dental4Windows Security Webinar.
Discover how to use and set up the security function in Dental4windows. Learn how to set up different security access groups for your front desk, clinical, management and casual staff and how to use audit trail reports that rely on security to be on for different features.

